

The Jomu Co
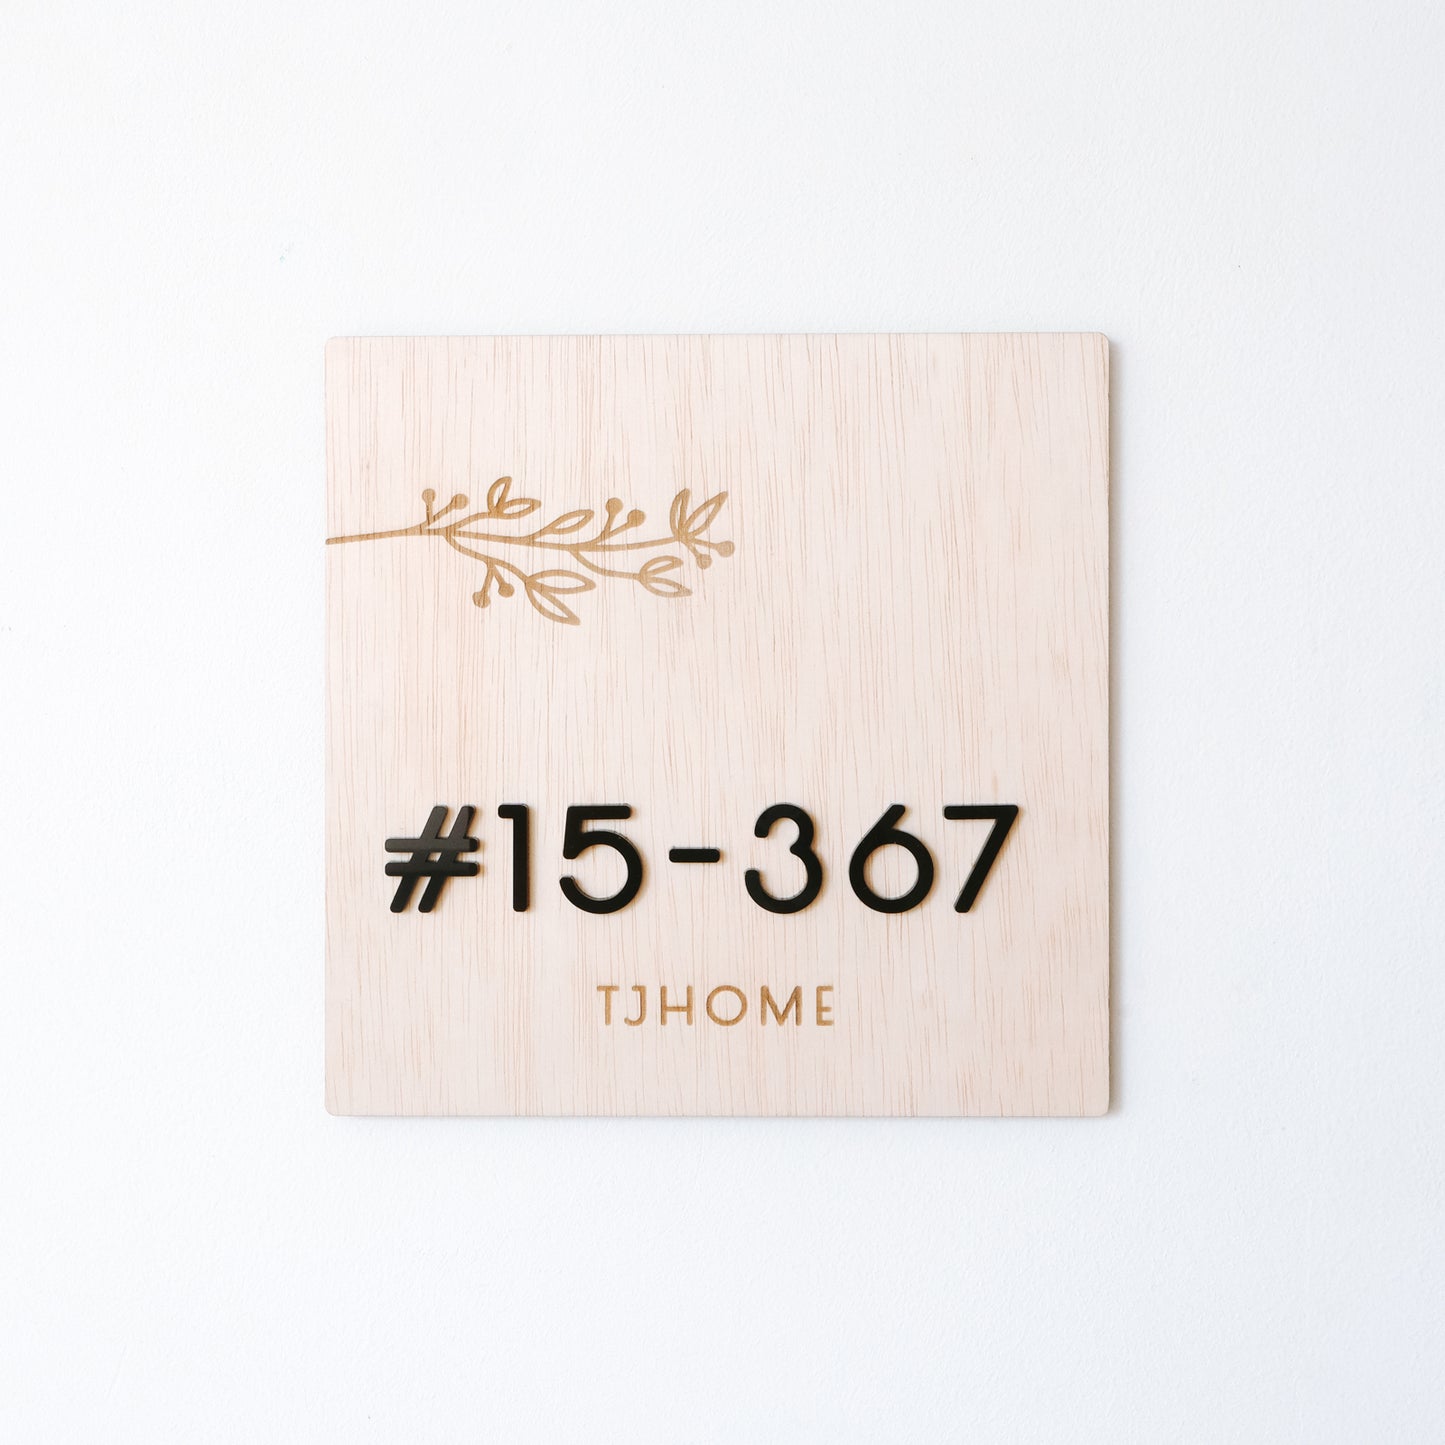
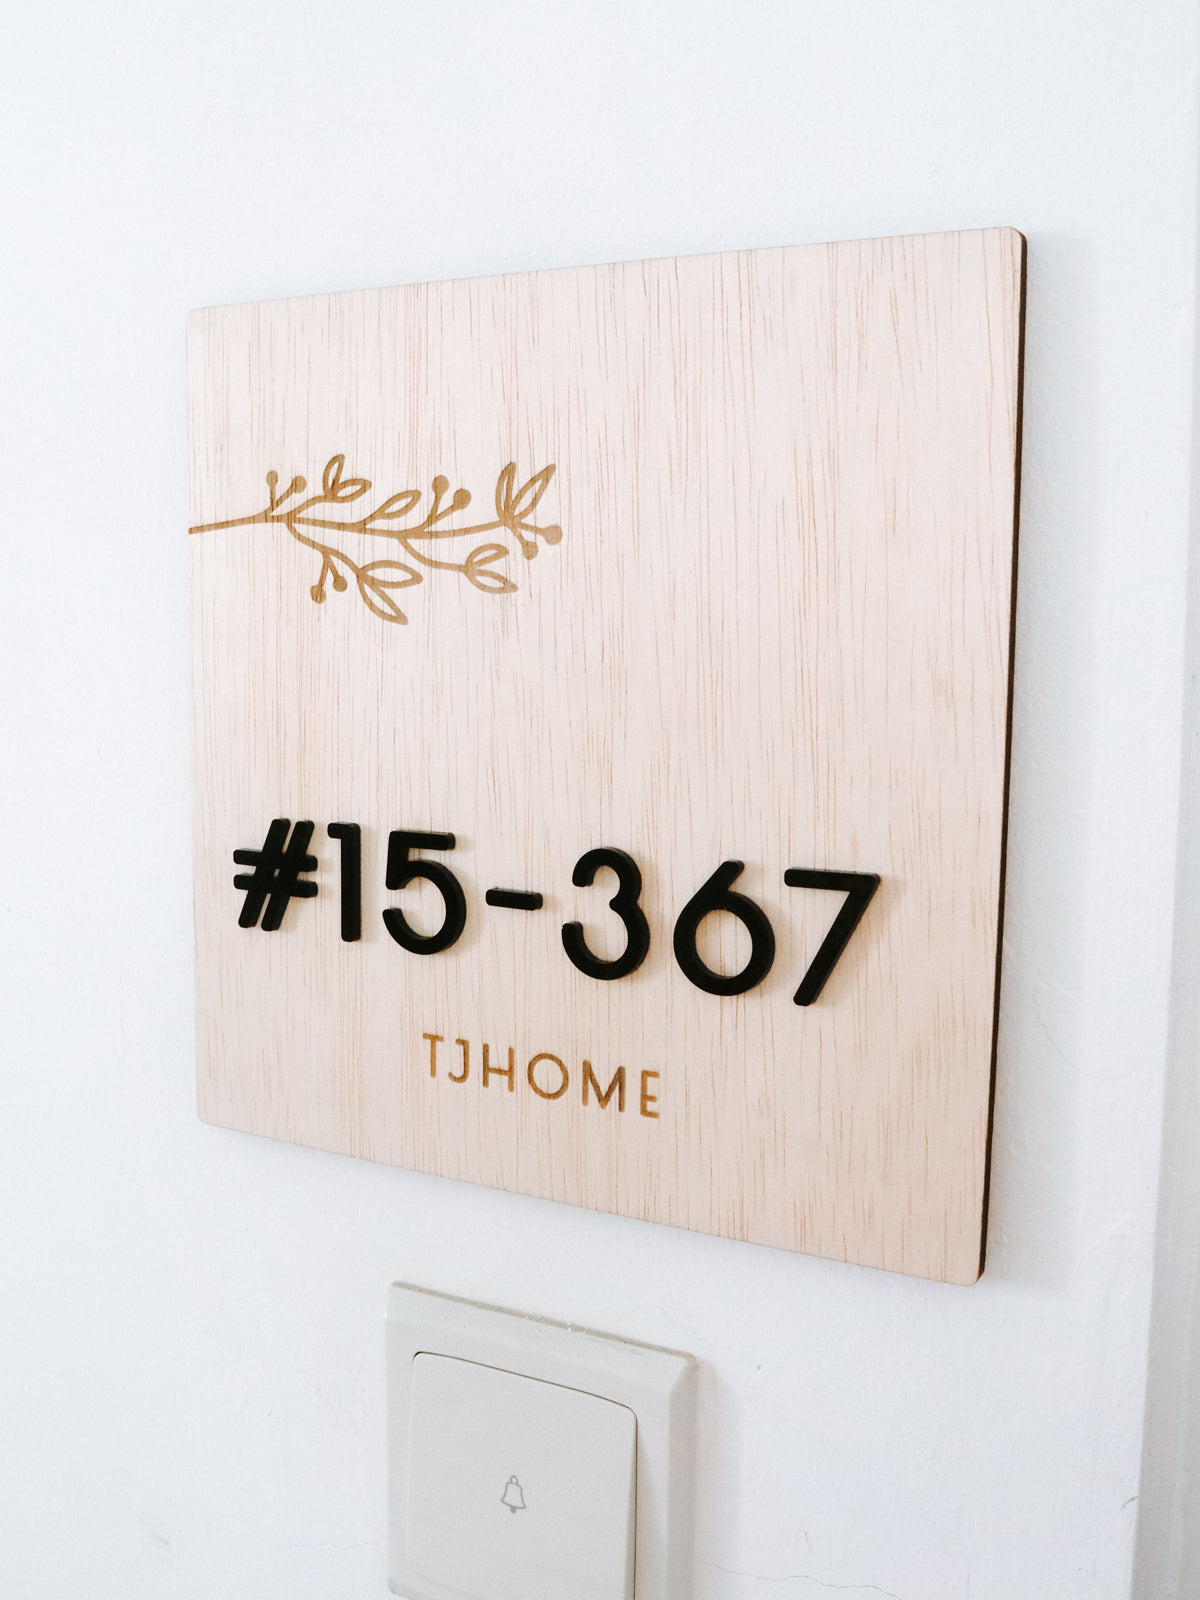
RESORT Unit Number Sign (Square)
RESORT Unit Number Sign (Square)
Couldn't load pickup availability
Inspired by our seaside getaway, we are bringing the resort vibes to your doorstep! This wood-toned piece meets a pop of black numerals to achieve a clean and modern contrast. Fix a decor wall lamp above the sign to complete the look!
Notes:
- As all engravings use laser, do allow for slight burnt marks around the engraved words. Order only if you are comfortable!
- Do allow for colour differences due to computer screen differences, lighting, photo edits, etc.
- Every piece of wood has its unique grains, so no two pieces will be the same.
- Size guide serves as a rough gauge.
Material colours and options can be viewed here: https://canva.link/ev13cr4pmnmoi6j
Installation Guide
Installation Guide
Make sure the installation surface is:
- Clean and completely dry
- Smooth and free from dust, grease or moisture
- Suitable for adhesive application
We recommend placing your sign against the wall or gate first to check the positioning. Use a measuring tape and removable masking tape to mark the placement before installation.
Please note that textured, uneven, dusty or freshly painted surfaces may affect adhesion.
Signs With a Base Piece
Our unit signs with a base piece do not come with adhesive or mounting tack. This allows you to choose the installation method that best suits your wall or gate.
Option 1: Blu Tack
Blu Tack is suitable for customers who prefer a more flexible and removable installation.
- Roll small pieces of Blu Tack into balls.
- Distribute them evenly across the back of the sign, including the corners and centre.
- Position the sign against the surface.
- Press gently but firmly across the entire sign to secure it.
Check the sign occasionally and replace the Blu Tack when necessary, especially in warm or humid areas.
Option 2: Strong Double-Sided or 3M Tape
Strong mounting tape is recommended for a firmer and more permanent installation.
- Cut the tape into smaller strips.
- Apply the strips evenly around the back of the sign.
- Avoid placing tape too close to the edges, where it may be visible.
- Remove the protective backing.
- Align the sign carefully before pressing it onto the surface.
- Press firmly across the sign to ensure good contact.
Base-Free Signs With Adhesive Backing
A placement stencil and adhesive backing are provided for easy installation.
- Position the stencil on your desired surface and secure it with masking tape or tack (not tape!)
- Check that the stencil is straight and aligned before installation.
- Peel off the adhesive backing from each piece.
- Place the pieces into the matching spaces on the stencil.
- Press firmly across each piece to secure it.
- Carefully remove the stencil once all pieces have been installed.