

The Jomu Co
DENALI Customised Unit Sign
DENALI Customised Unit Sign
Couldn't load pickup availability
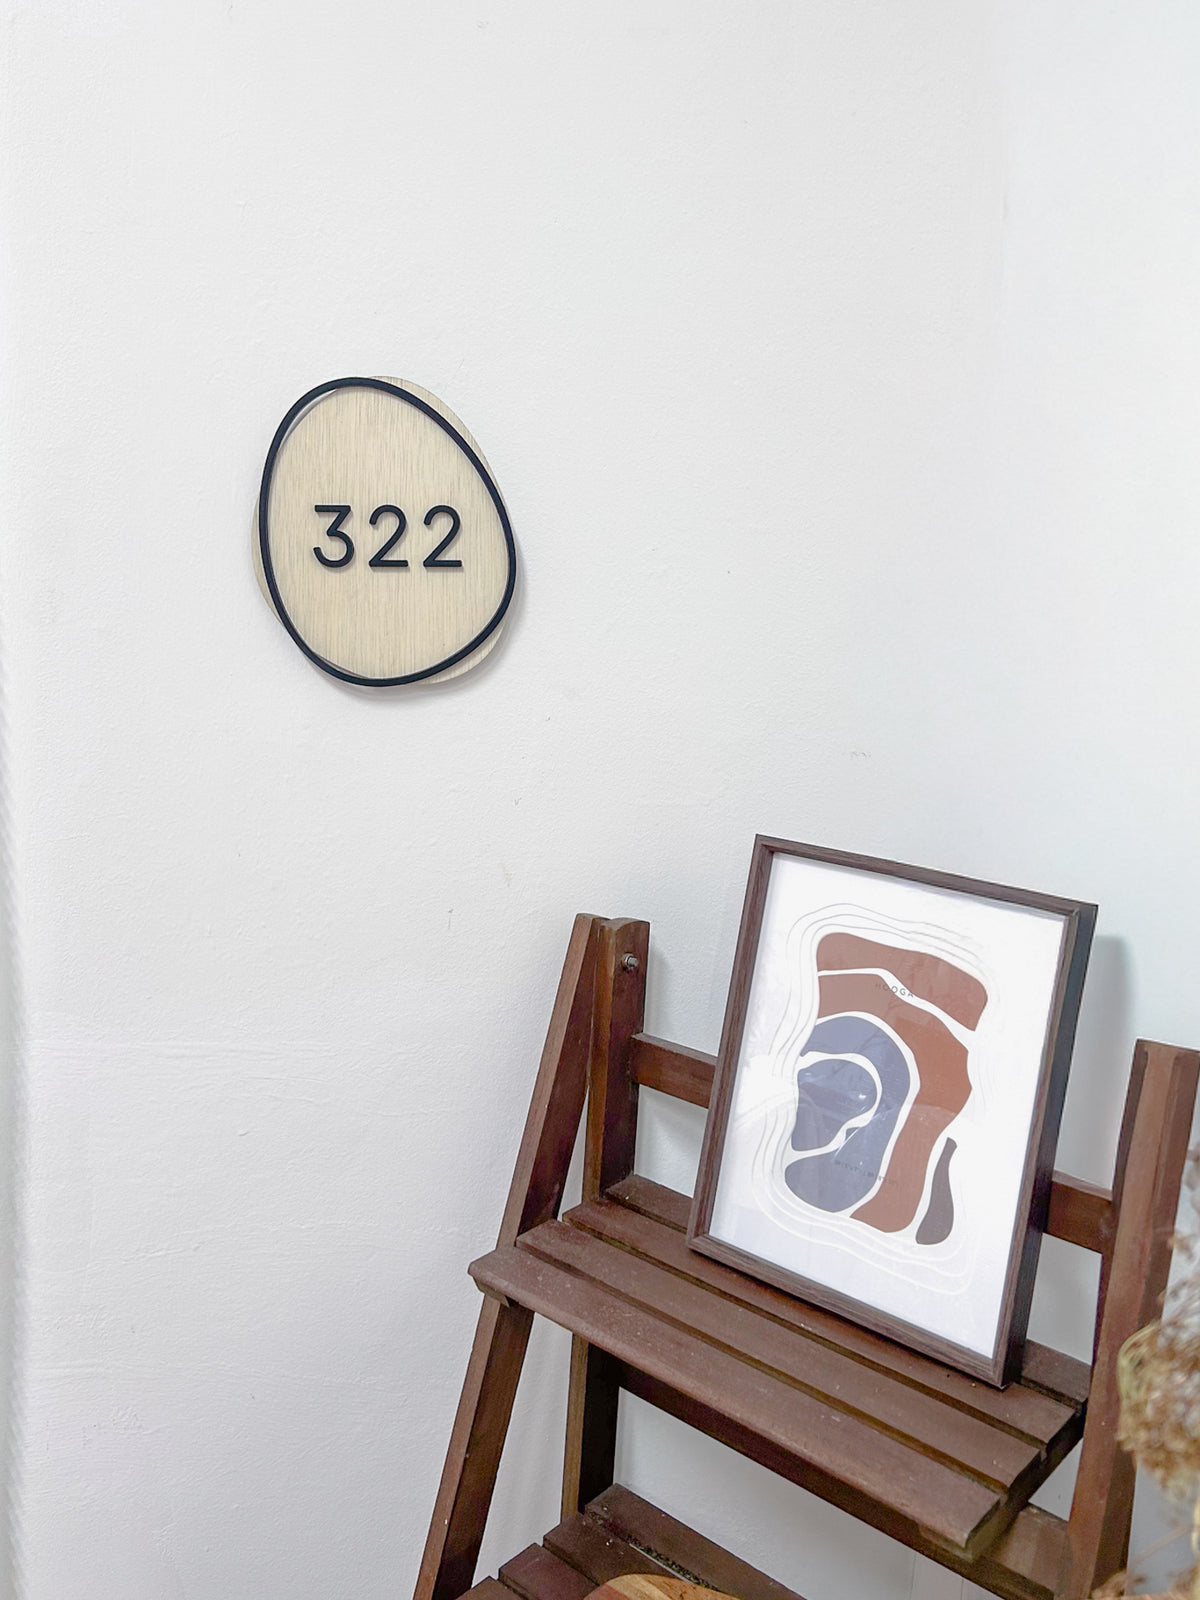
DENALI is designed around an organic, free-form silhouette that feels softer than the usual rectangular house sign. Paired with a light wood-toned base (or any other material options), matte black outline and clean 3D unit numbers, it brings just enough detail to your entrance while still keeping the overall look calm and minimal.
The irregular shape gives DENALI a slightly sculptural feel, making it especially suited for warm, Japandi, Scandinavian and neutral-toned homes. It is a simple piece, but one that helps make the space outside your door feel a little more considered - and unmistakably yours.
Personalise DENALI with your unit number to create a sign made specially for your home. Its compact design works beautifully for HDB, BTO, condominium and apartment entrances, whether styled on a plain wall, beside your gate or as part of a small entryway corner.
Notes:
- Do allow for colour differences due to computer screen differences, lighting, photo edits, etc.
- Size guide serves as a rough gauge.
Material colours and options can be viewed here: https://canva.link/ev13cr4pmnmoi6j
Installation Guide
Installation Guide
Make sure the installation surface is:
- Clean and completely dry
- Smooth and free from dust, grease or moisture
- Suitable for adhesive application
We recommend placing your sign against the wall or gate first to check the positioning. Use a measuring tape and removable masking tape to mark the placement before installation.
Please note that textured, uneven, dusty or freshly painted surfaces may affect adhesion.
Signs With a Base Piece
Our unit signs with a base piece do not come with adhesive or mounting tack. This allows you to choose the installation method that best suits your wall or gate.
Option 1: Blu Tack
Blu Tack is suitable for customers who prefer a more flexible and removable installation.
- Roll small pieces of Blu Tack into balls.
- Distribute them evenly across the back of the sign, including the corners and centre.
- Position the sign against the surface.
- Press gently but firmly across the entire sign to secure it.
Check the sign occasionally and replace the Blu Tack when necessary, especially in warm or humid areas.
Option 2: Strong Double-Sided or 3M Tape
Strong mounting tape is recommended for a firmer and more permanent installation.
- Cut the tape into smaller strips.
- Apply the strips evenly around the back of the sign.
- Avoid placing tape too close to the edges, where it may be visible.
- Remove the protective backing.
- Align the sign carefully before pressing it onto the surface.
- Press firmly across the sign to ensure good contact.
Base-Free Signs With Adhesive Backing
A placement stencil and adhesive backing are provided for easy installation.
- Position the stencil on your desired surface and secure it with masking tape or tack (not tape!)
- Check that the stencil is straight and aligned before installation.
- Peel off the adhesive backing from each piece.
- Place the pieces into the matching spaces on the stencil.
- Press firmly across each piece to secure it.
- Carefully remove the stencil once all pieces have been installed.