

The Jomu Co
BOTANICS Arch Unit Number Sign (with quote)
BOTANICS Arch Unit Number Sign (with quote)
Couldn't load pickup availability
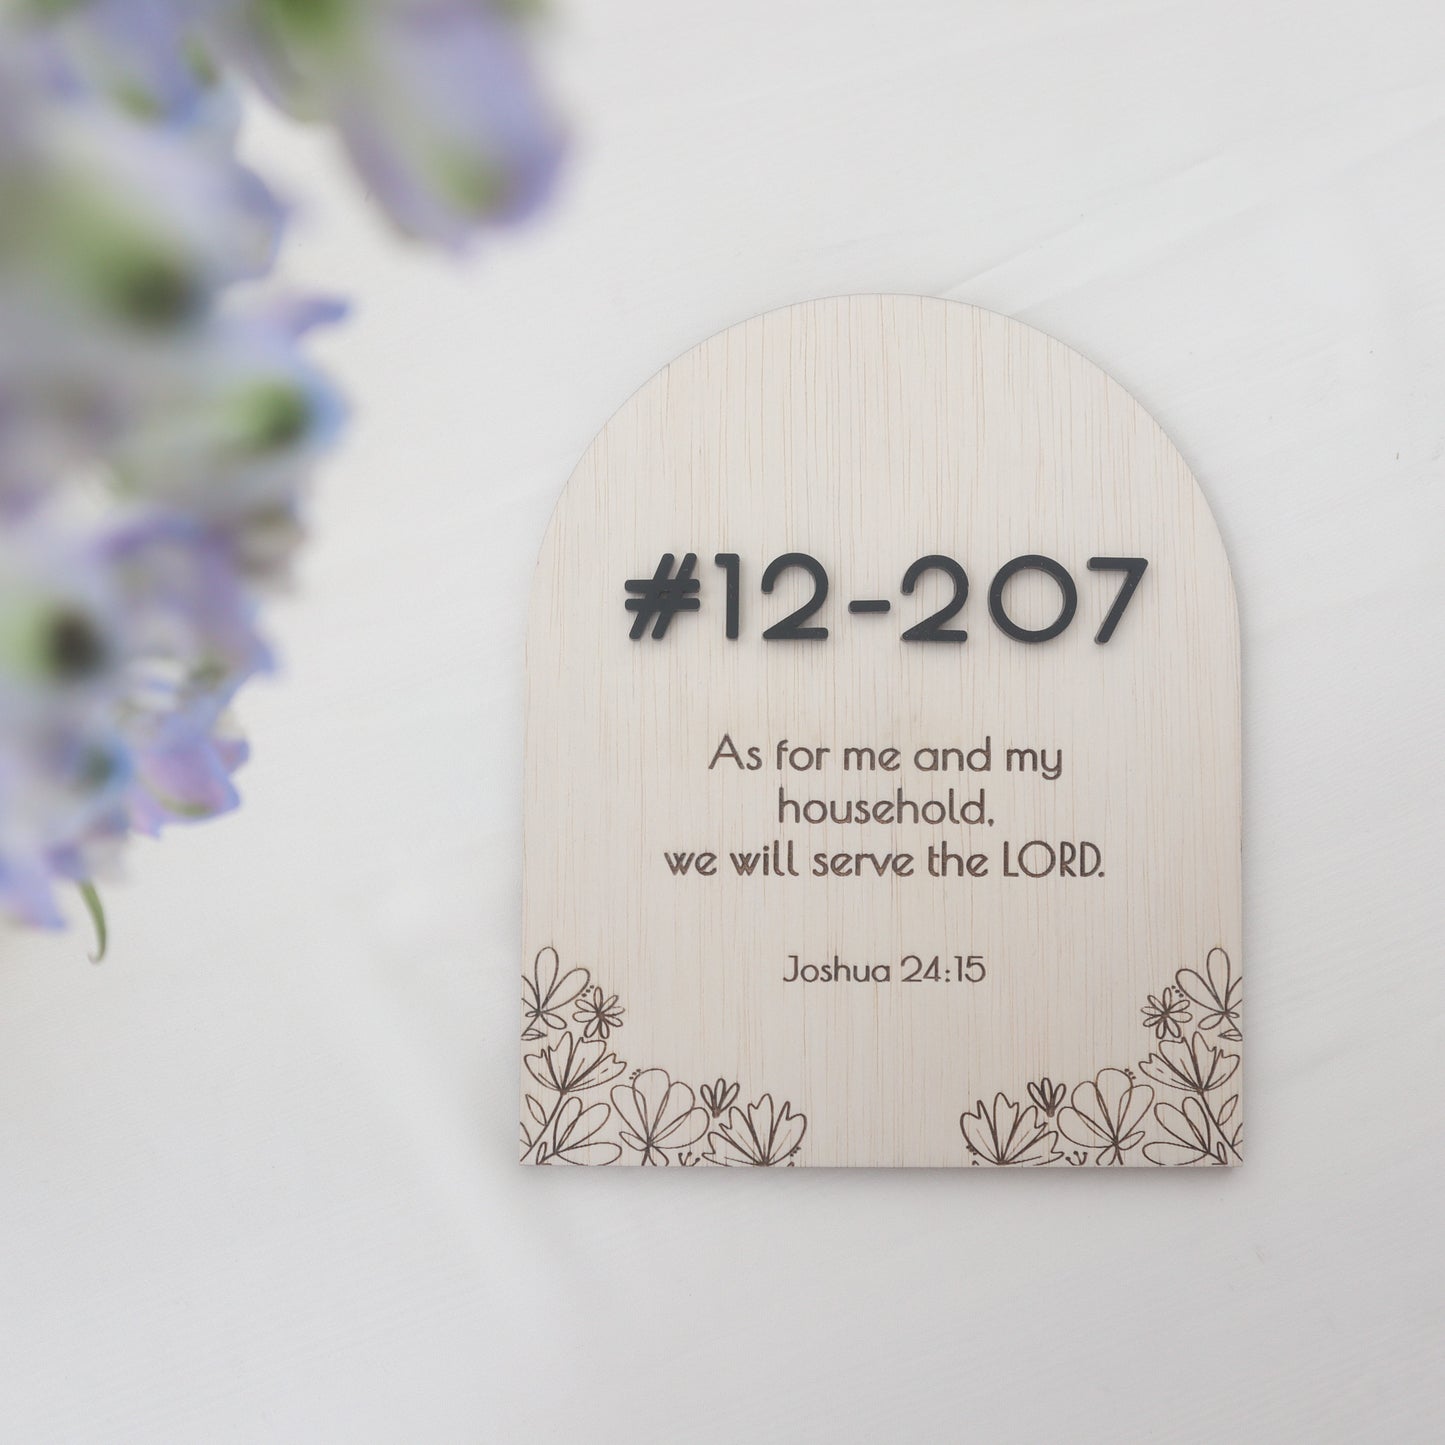
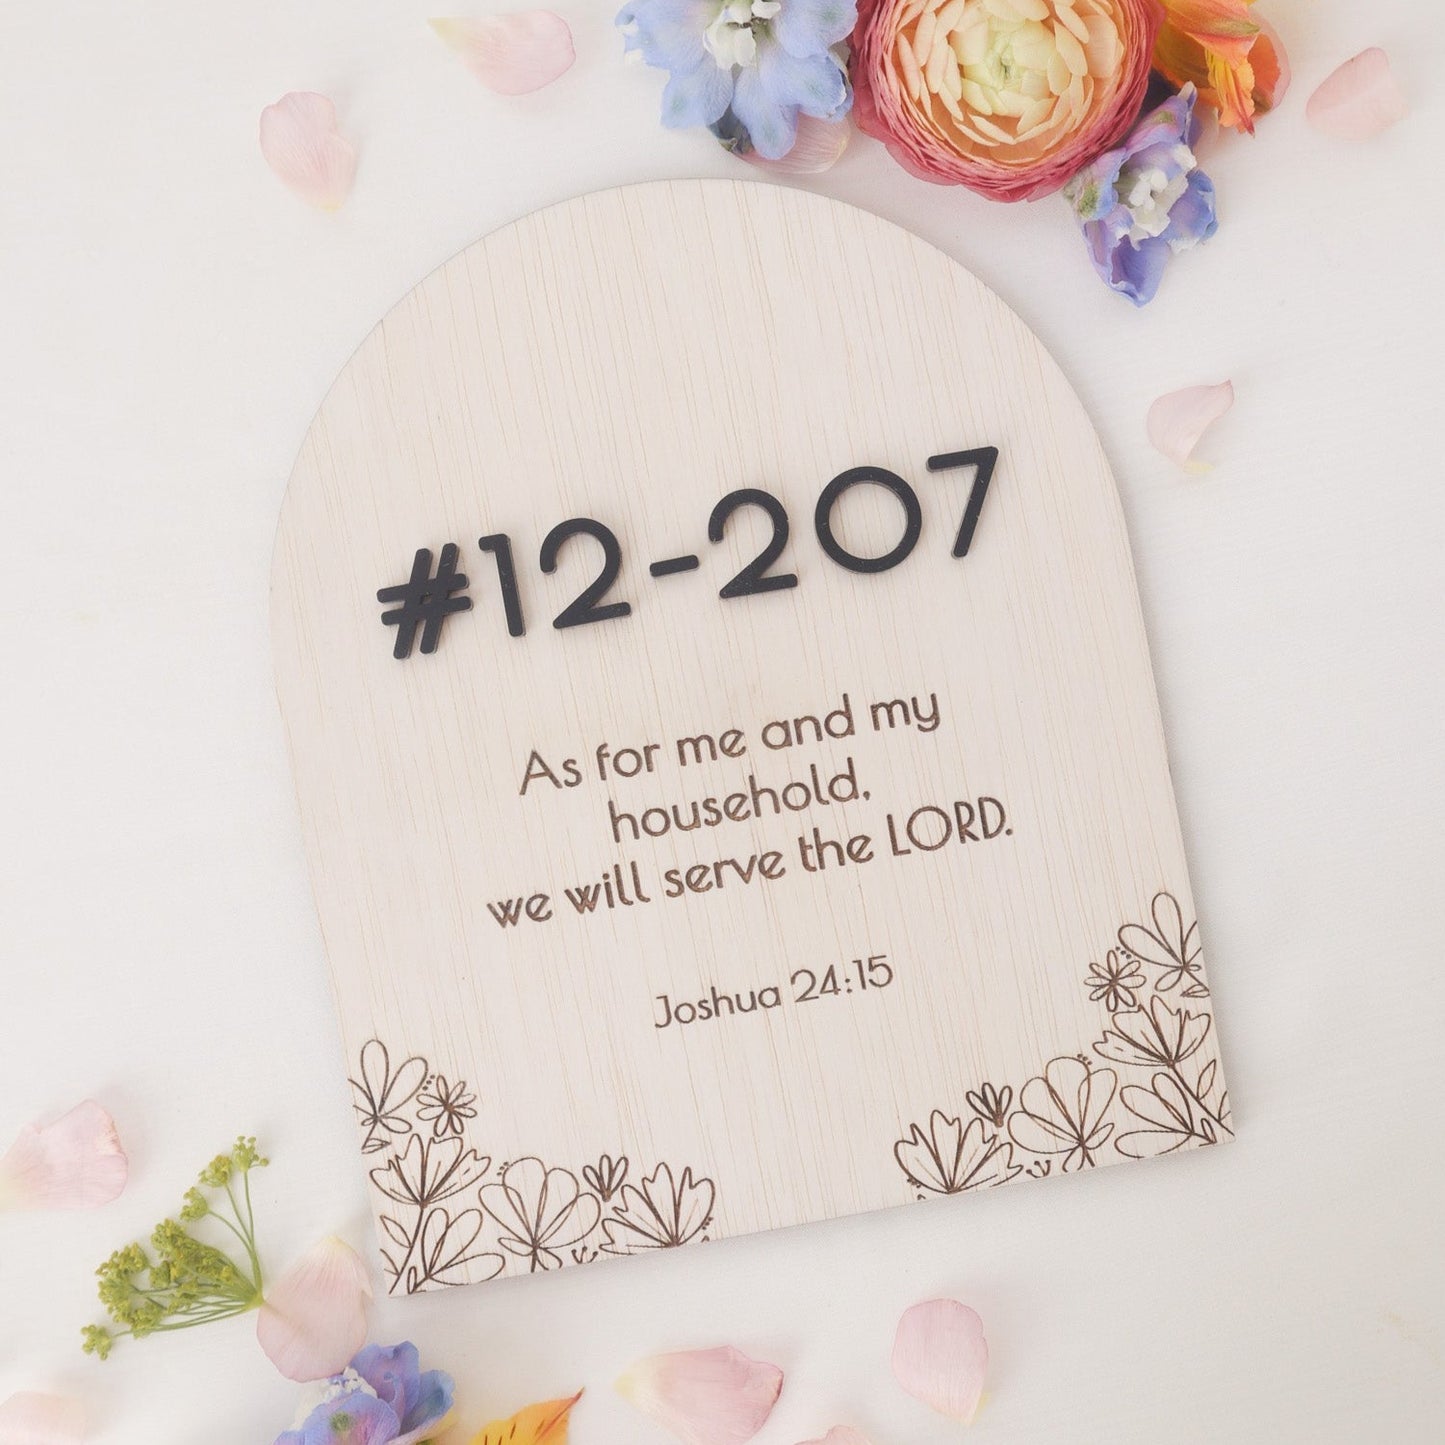
Meet our BOTANICS arch-shaped unit sign which includes a customised anchor bible verse or a family quote engraved on our natural wood base. Perfect for homeowners who prefer something closer to heart with a botanics touch.
Tip: Replace the text with a customised message for the delivery drivers if you prefer having a 2-in-1 signage!
Our signages are designed and created to be lightweight and easy to install. Here's how:
- Clean surface with a damp cloth or rubbing alcohol (if safe on surface) and let it dry
- Adhere 3M tape to the wall surface (following their instructions)
- You may use blue tack at the back of the signage, if you are not comfortable with having it taped to the wall.
Notes:
- Do allow for colour differences due to computer screen differences, lighting, photo edits, etc.
Material colours and options can be viewed here: https://canva.link/ev13cr4pmnmoi6j
Installation Guide
Installation Guide
Make sure the installation surface is:
- Clean and completely dry
- Smooth and free from dust, grease or moisture
- Suitable for adhesive application
We recommend placing your sign against the wall or gate first to check the positioning. Use a measuring tape and removable masking tape to mark the placement before installation.
Please note that textured, uneven, dusty or freshly painted surfaces may affect adhesion.
Signs With a Base Piece
Our unit signs with a base piece do not come with adhesive or mounting tack. This allows you to choose the installation method that best suits your wall or gate.
Option 1: Blu Tack
Blu Tack is suitable for customers who prefer a more flexible and removable installation.
- Roll small pieces of Blu Tack into balls.
- Distribute them evenly across the back of the sign, including the corners and centre.
- Position the sign against the surface.
- Press gently but firmly across the entire sign to secure it.
Check the sign occasionally and replace the Blu Tack when necessary, especially in warm or humid areas.
Option 2: Strong Double-Sided or 3M Tape
Strong mounting tape is recommended for a firmer and more permanent installation.
- Cut the tape into smaller strips.
- Apply the strips evenly around the back of the sign.
- Avoid placing tape too close to the edges, where it may be visible.
- Remove the protective backing.
- Align the sign carefully before pressing it onto the surface.
- Press firmly across the sign to ensure good contact.
Base-Free Signs With Adhesive Backing
A placement stencil and adhesive backing are provided for easy installation.
- Position the stencil on your desired surface and secure it with masking tape or tack (not tape!)
- Check that the stencil is straight and aligned before installation.
- Peel off the adhesive backing from each piece.
- Place the pieces into the matching spaces on the stencil.
- Press firmly across each piece to secure it.
- Carefully remove the stencil once all pieces have been installed.